
Your first chat
First launch opens the home screen: a chat input in the main pane. New Agent in the sidebar, or Cmd/Ctrl+N, returns here. You need a provider and a model before you can send. With no provider, the model picker is disabled.
Send from home
- Click New Agent if you are not already on home.
- Select a project, or leave Home. The picker defaults to the last active project.
- Choose a mode. The default is Agent.
- Choose a model if one is not already filled from your Default role.
- Type a message and send. Enter sends. Shift-Enter inserts a new line.
Home creates a home chat whose workspace is your user home directory. A selected project creates a project chat and opens that thread. New chats are titled New Agent until Auto-title fills one in (on by default).
The plus menu attaches images. The shield under the input is the permission dial (default Allowlist). On a git workspace, a branch control appears next to it. The MCP control lists configured servers. Skills and custom agents are / in the editor.
Modes
Agent implements changes in this chat. Ask is read-only exploration. Plan researches, then writes a durable PLAN.md. Orchestrator coordinates work through sub-agents. Tool allowlists live on Chat modes.
After you send
The thread opens and the first message is sent.
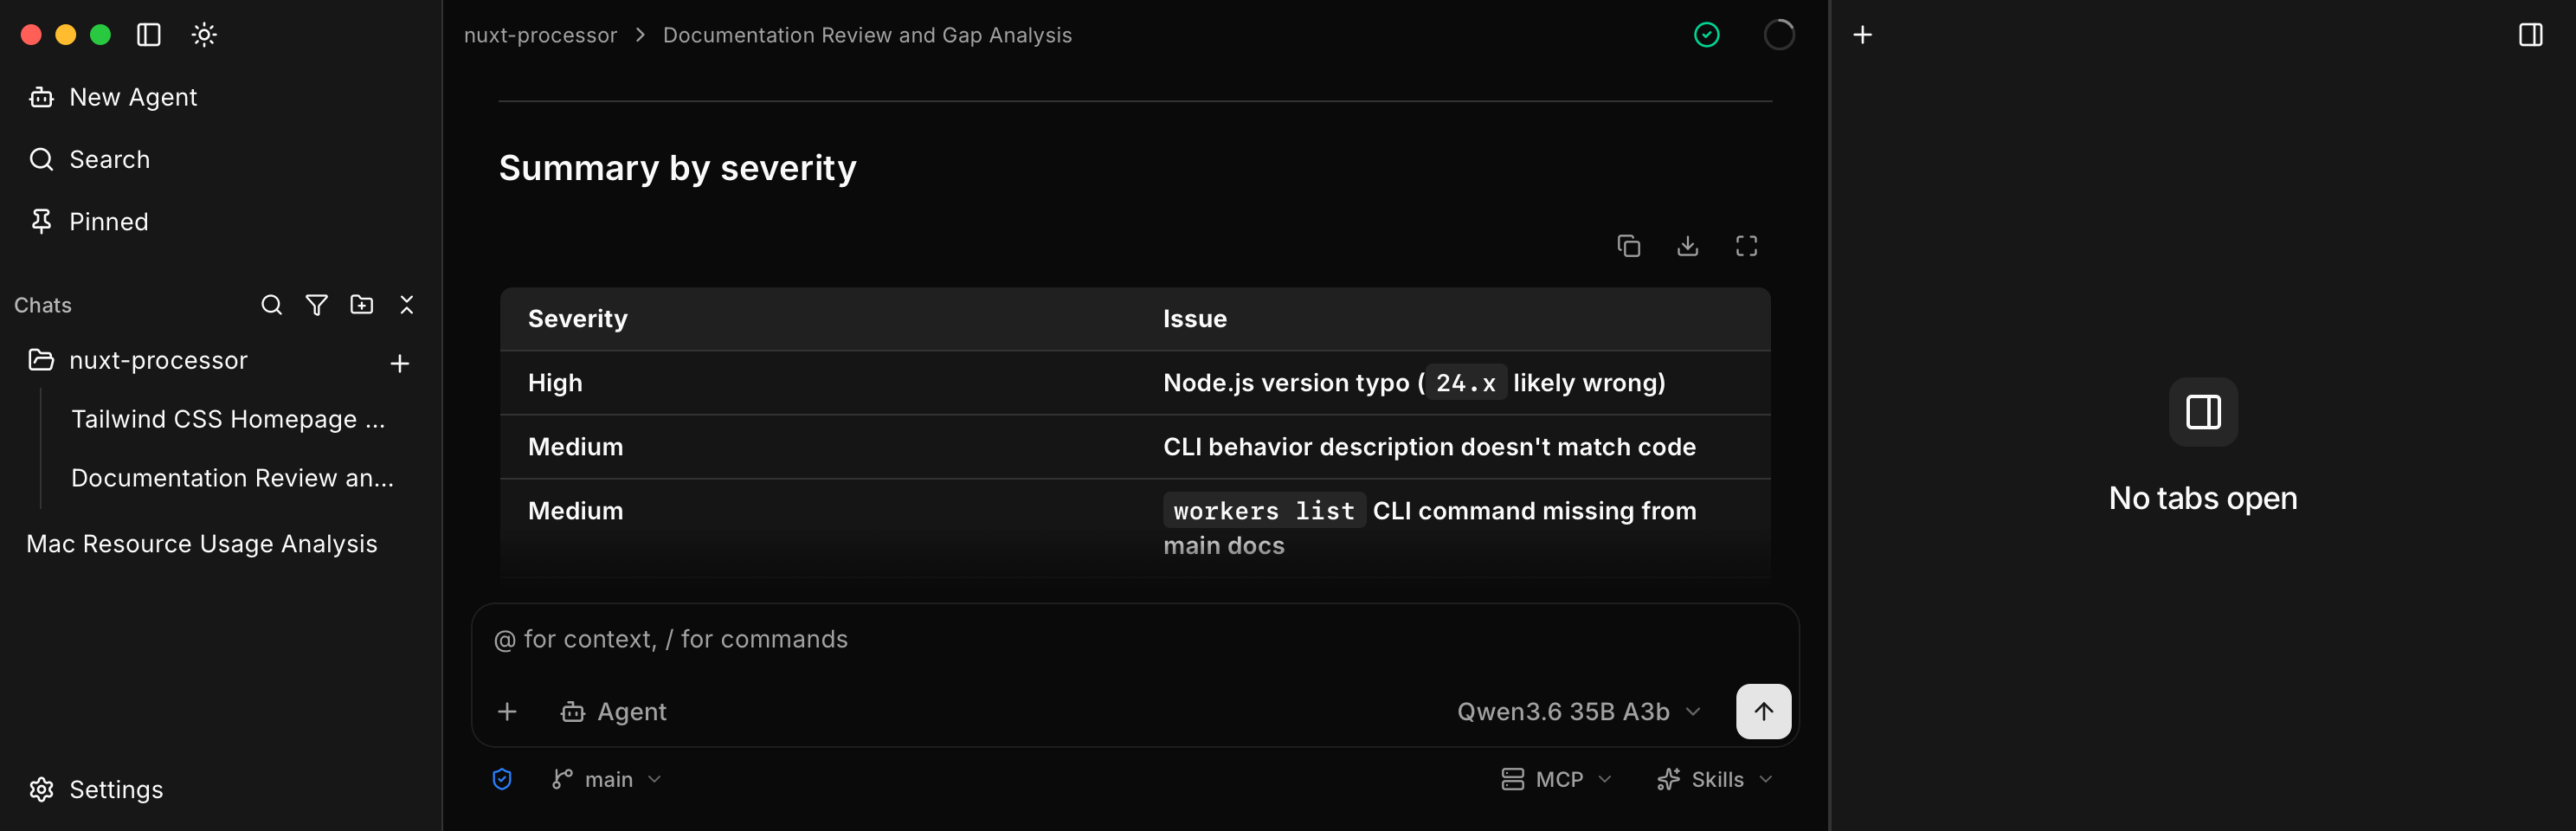
The agent can read the workspace, call tools the mode allows, and ask before actions the permission dial does not already allow. The workbench is the right-side panel: editor, terminals, and plan tabs. While a reply is running, send becomes Stop generating.
To rename, pin, fork, or delete a thread, see Manage chats. Delete is permanent. See Philosophy.